

Almost 10 years ago, I started playing with a “synchronized” Christmas light display with one of those all in one units that Home Depot had at the time. It had 4 outlets on it, a speaker and played some set music and turned on and off the lights in a set pattern. I think you could choose from half a dozen different play lists or something.
We discovered a local family that did a larger display and I figured I could do that too. So I found a site and some open sourced hardware and did it. I’ve been running that show since (about 8 years now) and every year after Christmas, we hit the stores to see what we can find on clearance.
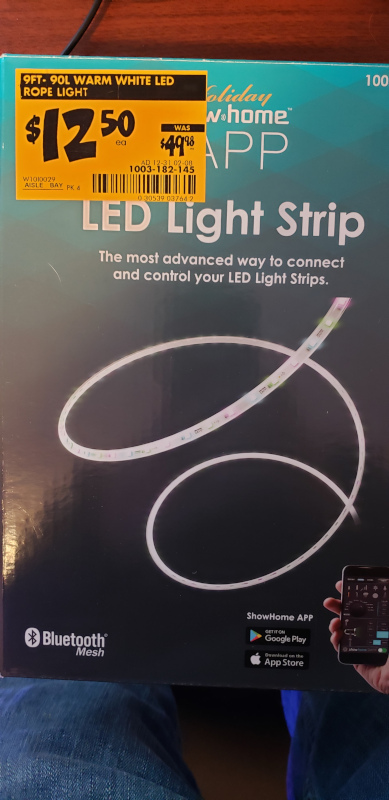
Last year, we found these LED light strips from Show Home at Home Depot marked down a lot. These “all in one” units are Bluetooth connected and come with some preset settings that allow you to change colors, speed and some effects.
If you’re just getting in to RGB and LED lights, this is an excellent way to go. You can control everything from your phone. However, I was looking to improve upon my current show and use some new technology, so I figured for $12 I could afford to break a strand so I did some dissection.
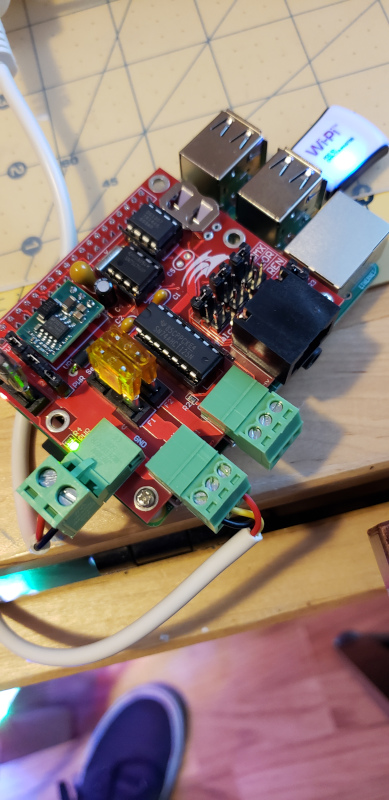
I discovered that past the controller, these are actually 3 wire RGB strands. There are 90 actual pixels in the strand, but they are in groups of 3 so you get about 30 actual pixels which still isn’t bad. I found that with a Falcon piCap and a RaspberryPi, I can control the string like it was a regular string of RGB LED lights.
This enables me to have 30 pixels (x 3 channels each for RGB) that I can now sequence in xLights and control using my falcon pi players (FPP) for more effects.
To do this I connected the v+, d and g wires on the LED strip to the output on the picap and that was pretty much it.
In the next couple of posts, we’ll look at actually using these in xlights to add some color to your display.